Article Overview
This technical guide replaces generic conversion advice with a proven workshop sequence: fuel architecture, harness integration, first-fire checks, idle calibration, and road validation.
Key Topics
- Return-style fuel system design and pressure verification
- Harness, relay, and grounding strategy for stable injection control
- Sensor validation and first-fire checklist
- Idle, transition, and cruise troubleshooting logic
- Common conversion failure signatures and corrective paths
Best For
- CIH builders converting from Weber/Solex carb setups
- Owners validating inherited partial conversion projects
- Tuners preparing for turbo-ready fuel headroom
- Workshops needing repeatable baseline procedures
Scope & Format
- Depth: full conversion workflow with diagnostic checkpoints
- Format: step-by-step procedures and troubleshooting matrix
- Use mode: workshop reference during active builds
Summary
Cicco's conversion remains the reference because it prioritizes sequence discipline: solve fuel hardware, verify signal integrity, stabilize idle, then validate under load.
Cicco's Injection Conversion: CIH carb-to-L-Jetronic done properly
This guide documents a conversion workflow for Opel CIH engines moving from carburettor fuelling to Bosch L-Jetronic with period-correct parts and modern reliability expectations. It is written for builders who are doing real workshop work: tank plumbing, relay logic, harness routing, idle calibration, and road tuning under load, not only an engine-bay photo session.
The Cicco method is valuable because the order is disciplined. Fuel hardware comes before electronics, baseline ignition comes before mixture trimming, and part-throttle drivability is solved before full-load enrichment. Following that order prevents the common trap where a car starts once, idles badly, and then gets abandoned after random sensor swaps.
Project goals and baseline checks
Define success before tearing down: cold start reliability, stable hot idle, clean part-throttle response, and safe fuel delivery at target rpm. Compression, valve lash, ignition health, and vacuum integrity must already be within tolerance; injection does not rescue weak mechanical fundamentals.
Record baseline data from the carb setup: idle vacuum, timing at idle and 3000 rpm, fuel pressure if measurable, and plug appearance after steady cruise. Those numbers help diagnose conversion issues without guessing what changed.
Fuel system architecture first
L-Jetronic needs a return-style fuel system with predictable pressure and flow. Recommended sequence: tank pickup or swirl pot, pre-filter, high-pressure pump, post-filter, rail feed, regulator, and unrestricted return to tank. A noisy or cavitating pump is usually a supply-side issue, not an ECU issue.
Pressure should remain stable through idle and light-load sweep. Rising pressure at idle often indicates return restriction. Falling pressure at higher rpm indicates supply starvation, wiring drop, or pump fatigue. Log pressure before touching AFM or mixture screws.
Reference layouts from John Powlton's EFI notes and compare component placement with your chassis packaging, especially on right-hand-drive cars where heat and line routing differ.
Intake and injector package selection
Manifold choice determines injector targeting, throttle response, and serviceability. If using adapters between carb manifold and injector hardware, verify spray path and wall wetting during cranking tests. Injector size should be matched to airflow and intended output with duty-cycle headroom, not selected by forum popularity.
A stable street car usually benefits from moderate injector sizing and consistent pressure control over maximal injector flow. Oversized injectors can produce short pulse widths that make idle coarse and difficult to trim.
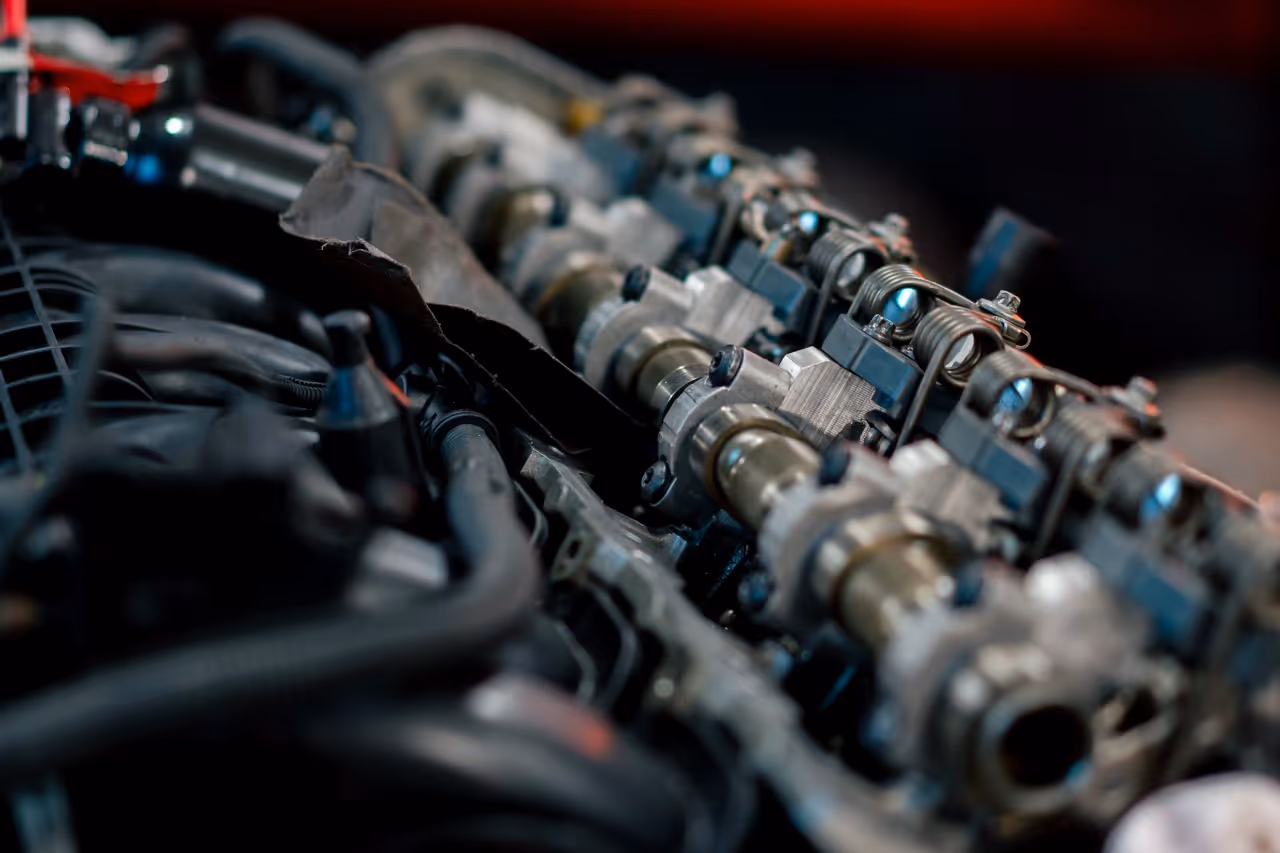
Harness integration and relay strategy
Retain donor harness sections as complete as possible: ECU connector, AFM branch, injector subloom, double-relay or equivalent relay pair, and primary grounds. Label every connector by function before installation. Wire color alone is insufficient after decades of repairs.
Route loom away from exhaust heat and sharp body seams. Use star-grounding practices between engine, body, and battery negative. Voltage drop on ECU supply or injector feed creates rich/lean behaviour that imitates failed sensors.
Sensors and first-fire prerequisites
Before first start, verify continuity and expected resistance for coolant temperature sensor, AFM potentiometer track, injector circuits, throttle switch contacts, and ignition trigger input. Confirm throttle switch transitions cleanly at idle and wide-open-throttle points.
Prime system with injectors connected but ignition disabled to validate leak-free rails and hose joints. Set conservative ignition timing, confirm cranking signal stability, and start only after fuel pressure is verified with a gauge.
Idle calibration and warmup behaviour
Set base idle with fully warm engine and known-good ignition timing. Then calibrate mixture to target CO/lambda for your market. Do not tune around vacuum leaks or incorrect throttle stop position. Warmup enrichment issues are often coolant sensor or air bypass problems, not ECU defects.
If idle hunts, diagnose in this order: unmetered air leaks, pressure drift, throttle switch state, AFM signal smoothness, and ignition quality. Randomly enriching mixture to hide oscillation creates poor cruise and plug fouling.
Road tuning: transition and cruise
Part-throttle transition from closed throttle to light acceleration is where most conversion quality is judged. Eliminate stumble under small pedal inputs before chasing maximum output. Cruise AFR stability matters more for real-world drivability than one dyno pull.
Use repeatable test loops and note ambient temperature. Mechanical fan and electrical load changes can alter idle and low-speed behaviour; tune under realistic operating conditions.
Boost, valvetrain changes, and future-proofing
If the conversion is a foundation for turbocharging or cam changes, size fuel pump and injector headroom accordingly but tune naturally aspirated behaviour first. Cross-reference Fuel Injection & Engine Management for turbo efficiency and roller-lifter interactions that affect vacuum signal and calibration.
When output rises, revisit chassis and braking references. Injection success often encourages power upgrades; stopping and driveline integrity must keep pace.
Common failure patterns and fixes
- Starts then dies: relay logic or pump control wiring not latched in run position.
- Hot idle rich: return restriction, elevated pressure, or false-cold coolant signal.
- Tip-in stumble: AFM track wear, throttle switch transition error, or vacuum leak.
- High-rpm leanout: pump voltage drop, restricted feed, or undersized supply path.
- Intermittent misfire: ignition trigger instability causing false fueling diagnosis.
Related technical references
For LE-L differences and field trimming practices, compare with MantaBlog LE-Jetronic notes. For broader donor and community resources use Manta B link listings and the international Opel links roundup.
Continue into Opel GT Brake Upgrade, Torque-Tube Modification, or Monza Rear Geometry when the project moves from fueling into stopping and driveline load management.
Use the reference the way builders do
Find your platform
Start from your car - Ascona, Manta, Monza or GT - and the components it shares.
Pick the area
Fuel injection, chassis and brakes, or drivetrain and gearing.
Read the documented build
Real conversions with the wiring, figures and settings that actually matter.
Apply it to your project
Cross-linked references carry you from one job straight into the next.
Building an Opel? Join our SMS list for updates.
Reference for the Opel building community.