Carb-to-Injection Conversions
Return fuel system, L-Jetronic harness, sensor checks, and idle trim — anchored on Cicco's documented CIH swap.
Browse reference areas
Browse reference areas
Most Opel CIH street and track cars still begin life on carburettors. Opel Tuners documents the full conversion path to Bosch L-Jetronic and LE-Jetronic — not as a shopping list, but as a sequence you can execute in a home garage without leaving the car undriveable for months. This hub exists because injection swaps fail predictably at the same steps: fuel system shortcuts, harness merges from the wrong donor, and tuning WOT before idle is stable.
Read Fuel Injection & Engine Management for system theory, sensor behaviour, and trim discipline while you work through the steps below. Cross-link Drivetrain & Gearing and Suspension, Brakes & Chassis Geometry when the conversion coincides with ride-height or power changes — those projects are usually the same winter, not three separate winters.
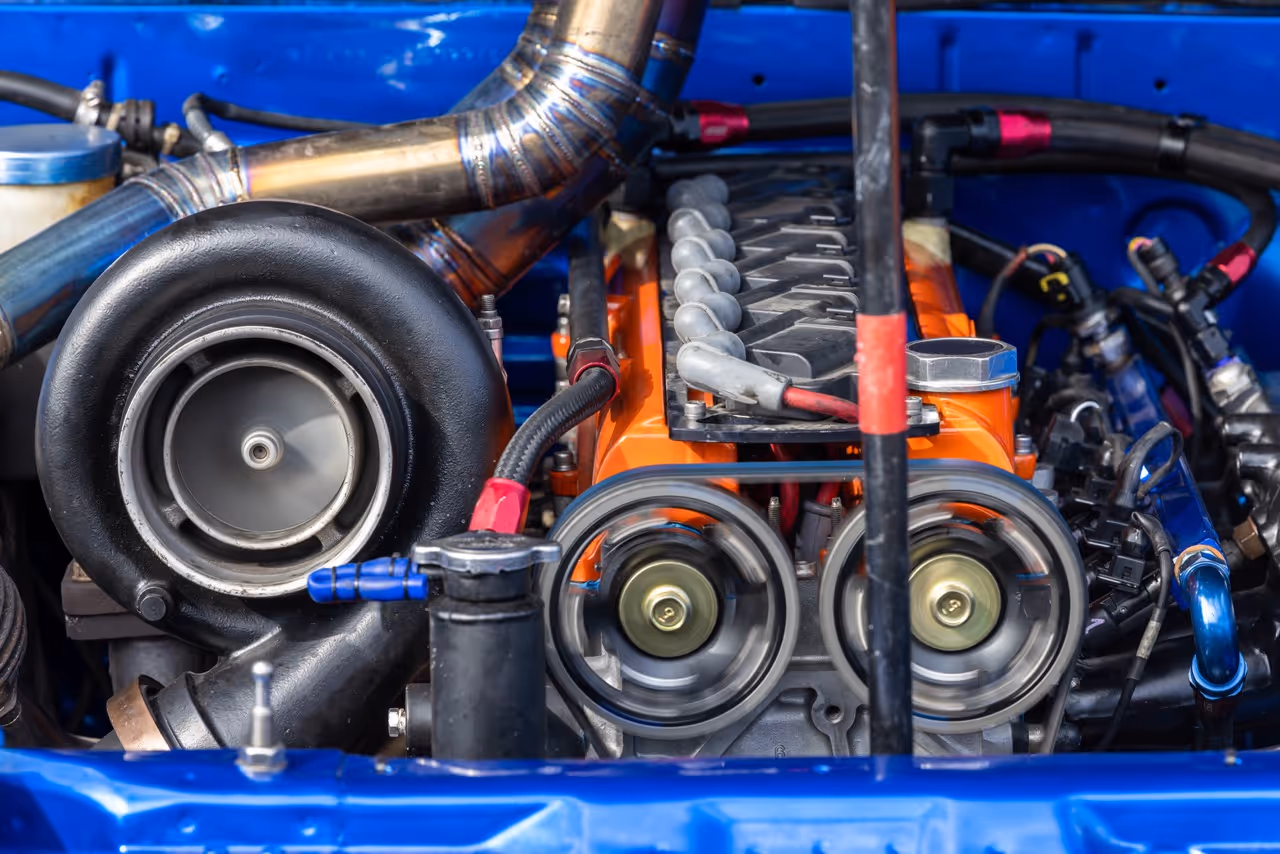
Cicco's Injection Conversion is the anchor article: intake selection, return-style fuel system, harness routing away from heat, sensor placement, first fire, idle trim, then part-throttle drivability. Follow that narrative even if your donor ECU label differs — the order of operations matters more than the forum name on the thread.
Photograph every connector before you cut. Label relays by function, not wire colour — European harnesses age into similar shades of green. Keep the carb fuel line layout diagram until the new return line is pressure-tested; leaks at the tank sender are the most common fire risk, not ECU failure.
Install tank feed (or surge pot where needed), pre-filter, pump, post-filter, regulator with return to tank. Prime the system with ignition on, engine off, and inspect every joint at working pressure. Only then mount the ECU and connect injectors.
Many builders use Bosch 058-style pumps or period Opel lift pumps depending on market and noise tolerance. Regulator location should be close enough to the rail that line volume does not cause pressure droop on rapid transitions — L-Jetronic is not forgiving of slow pressure recovery.
Compare layout ideas with John Powlton's EFI notes when you want a second opinion on filter order and return routing. For management-family context, 205 GTi Drivers' injection comparison helps explain why you are staying on L-Jetronic instead of importing an unrelated ECU family.
Carb manifolds and injection manifolds place nozzles in different relationships to the valve curtain. Adapter plates can work; they can also wash the bore wall at part throttle. Plan for idle quality first — if idle is unstable, WOT tuning will mislead you into rich cruise and sooty plugs.
Injector flow should match measured airflow, not “whatever the donor had.” Oversized injectors shorten pulse width and make idle coarse. Undersized injectors max out duty cycle at WOT while idle looks acceptable — a dangerous split personality on the road.
Match ECU, AFM, and injector harness as a set when possible. LE-Jetronic plumbing and trim differ from early L-Jetronic — the MantaBlog LE-Jetronic walkthrough is the best community companion for trim screws and idle-air behaviour once the mechanical work is done.
Coolant temperature sensor placement must see real coolant, not air. Throttle switches need crisp idle and WOT contacts — blurred switches cause enrichment hunts that look like AFM failure. Verify trigger signal from the distributor or crank adapter before first fire; misfires enrich the exhaust and waste diagnostic time.
When connector part numbers do not match your market, search the Manta B link directory and international Opel link roundup for regional equivalents before you splice irreversibly.
Set conservative static timing, confirm pump prime and leak-free joints, then start. Trim idle to your market’s CO or lambda target with a warm engine and electric fan off unless your procedure says otherwise. Log idle hunt — TPS, vacuum leaks, and pressure drift are the usual trio.
Do not advance timing for power until part-throttle cruise is clean. Street cars live at partial throttle; a rich cruise cooks cats, wastes fuel, and feels like “needs more timing” when it needs less fuel.
After valvetrain changes such as roller lifters (see fuel-injection pillar articles), re-trim idle and revisit cruise — overlap changes vacuum signature at the AFM.
If the conversion is a stepping stone to turbo, read Turbo Efficiency in the fuel-injection pillar before you buy injectors. Duty cycle headroom, charge plumbing before the AFM, and intercooling dominate durability more than peak boost bragging rights.
Exhaust and manifold work disturb mounts and alignment references. If the car gained or lost weight on the nose, revisit front alignment and brake balance — chassis geometry reference covers the measurements. Structural context for restored cars appears in resources such as body shell restoration notes linked from many club pages.
Step 1 — Fuel hardware and pressure. Pump, filters, regulator, return, documented static pressure.
Step 2 — Intake and injectors mechanically secure. No leaks at rail; clips and seals seated.
Step 3 — Harness routed, earthed, and labelled. Relays fused; AFM and CTS verified.
Step 4 — First fire and idle trim. Warm engine; stable idle before road test.
Step 5 — Part-throttle and cruise. Fix flat spots; then consider WOT and timing for power.
Step 6 — Driveline and brakes match new output. See Torque-Tube & Gearbox Reference if you changed loading or ride height in the same build.
Browse all reference areas or return to Fuel Injection & Engine Management for deeper L-Jetronic theory.
Each Opel RWD platform shares CIH engine heritage but differs in subframe, rear link layout, brake options, and tunnel clearance. Document which platform you are building before you copy a forum thread from a different model year — a Manta five-speed tunnel relief pattern does not automatically fit an Ascona without measurement.
Weight distribution changes when you move battery, fit larger brakes, or add intercoolers. Revisit spring rates and damper travel when those moves happen in the same season as chassis work, not a year later when tyre wear looks mysterious.
When explaining project scope to machine shops, point them at platform summaries such as Ascona background material so they understand why your car does not share parts with the BMW they see every week.
Photograph alignment sheets, link positions at ride height, and brake pad bed-in notes in the same folder as ratio calculations. Future you will not remember which shim corrected thrust angle. The archive is written assuming builders maintain that discipline — the text cannot replace your measurements on your car.
Harvest ECU, AFM, wiring, relays, fuel rail, regulator, and injectors as a set. Bag connectors with labels matching your workshop manual pin names, not wire colours. Photograph fuse box locations on the donor before you cut — European cars hide critical relays in different places by year.
Charcoal canisters, purge valves, and thermo valves confuse idle when deleted incorrectly. If you simplify emissions hardware, cap ports deliberately and document what was removed — future tuners need to know which vacuum references remain.
Reference for the Opel building community.